


You’ve finally found the perfect piece of interior design wall art. You’ve measured the wall, accounted for the furniture height, and successfully mounted a stunning professional photograph that transforms the room. But as the sun goes down or the overhead lights flicker on, something feels off. The colors look dull, or perhaps a harsh glare is bouncing right off the center of the print.
Lighting is the "secret sauce" of every high-end gallery and museum. In professional interior design, it is the difference between a picture on a wall and a masterpiece that demands attention. Whether you are displaying a large-scale aluminum print or a classic framed poster, understanding how to light your fine art photography collection is essential to preserving its value and maximizing its impact.
Why Lighting Matters for Fine Art Photography
Photography is, by definition, the study of light. When a photographer like Robert Moss captures a moment: like the misty peaks of the Tetons or the sharp eye of a lioness: they are working with specific lighting conditions to create depth, texture, and emotion. When you bring that piece into your home, poor lighting can "flatten" the image, washing out the shadows and muting the highlights that made you fall in love with the work in the first place.
Beyond aesthetics, lighting is a matter of conservation. Traditional incandescent and halogen bulbs emit heat and UV radiation that can, over decades, degrade paper and ink. Modern LED solutions offer a safer, more vibrant alternative that allows your collection to shine without the risk of damage.
The Gold Standard: LED vs. Halogen
In the past, galleries favored halogen spotlights for their "punchy" look and warm glow. However, halogens are notorious for producing significant heat. If you place your hand near a halogen-lit print and feel warmth, that heat is actively drying out the mounting materials or stressing the ink layers.
Today, high-CRI (Color Rendering Index) LEDs are the industry standard. For interior design wall art, you should look for bulbs or fixtures with a CRI of 90 or higher. This ensures that the reds, blues, and subtle earth tones in your photography prints are rendered accurately.
Pro Tip: Look for "dim-to-warm" LED technology. This allows you to lower the light intensity for a cozy evening mood while maintaining that inviting, gallery-style warmth (typically around 2700K to 3000K).
Spotlight: Bringing the Savanna to Life
When lighting wildlife photography, the goal is to emphasize the texture of the subject: the individual hairs of a mane or the grit of the dust. A flat, overhead light will rarely achieve this. Instead, you want "accent lighting" that creates a sense of three-dimensional life.
Take, for example, a high-impact wildlife portrait like the Lioness on the Hunt Aluminum Print. Because this piece is printed on high-quality Aluminum DIBOND®, it already possesses a sophisticated matte finish designed to minimize glare. To truly showcase the intensity of the scene, a dedicated picture light or a focused ceiling track head is ideal.
Lioness on the Hunt Aluminum Print | Wildlife Photography by Robert Moss
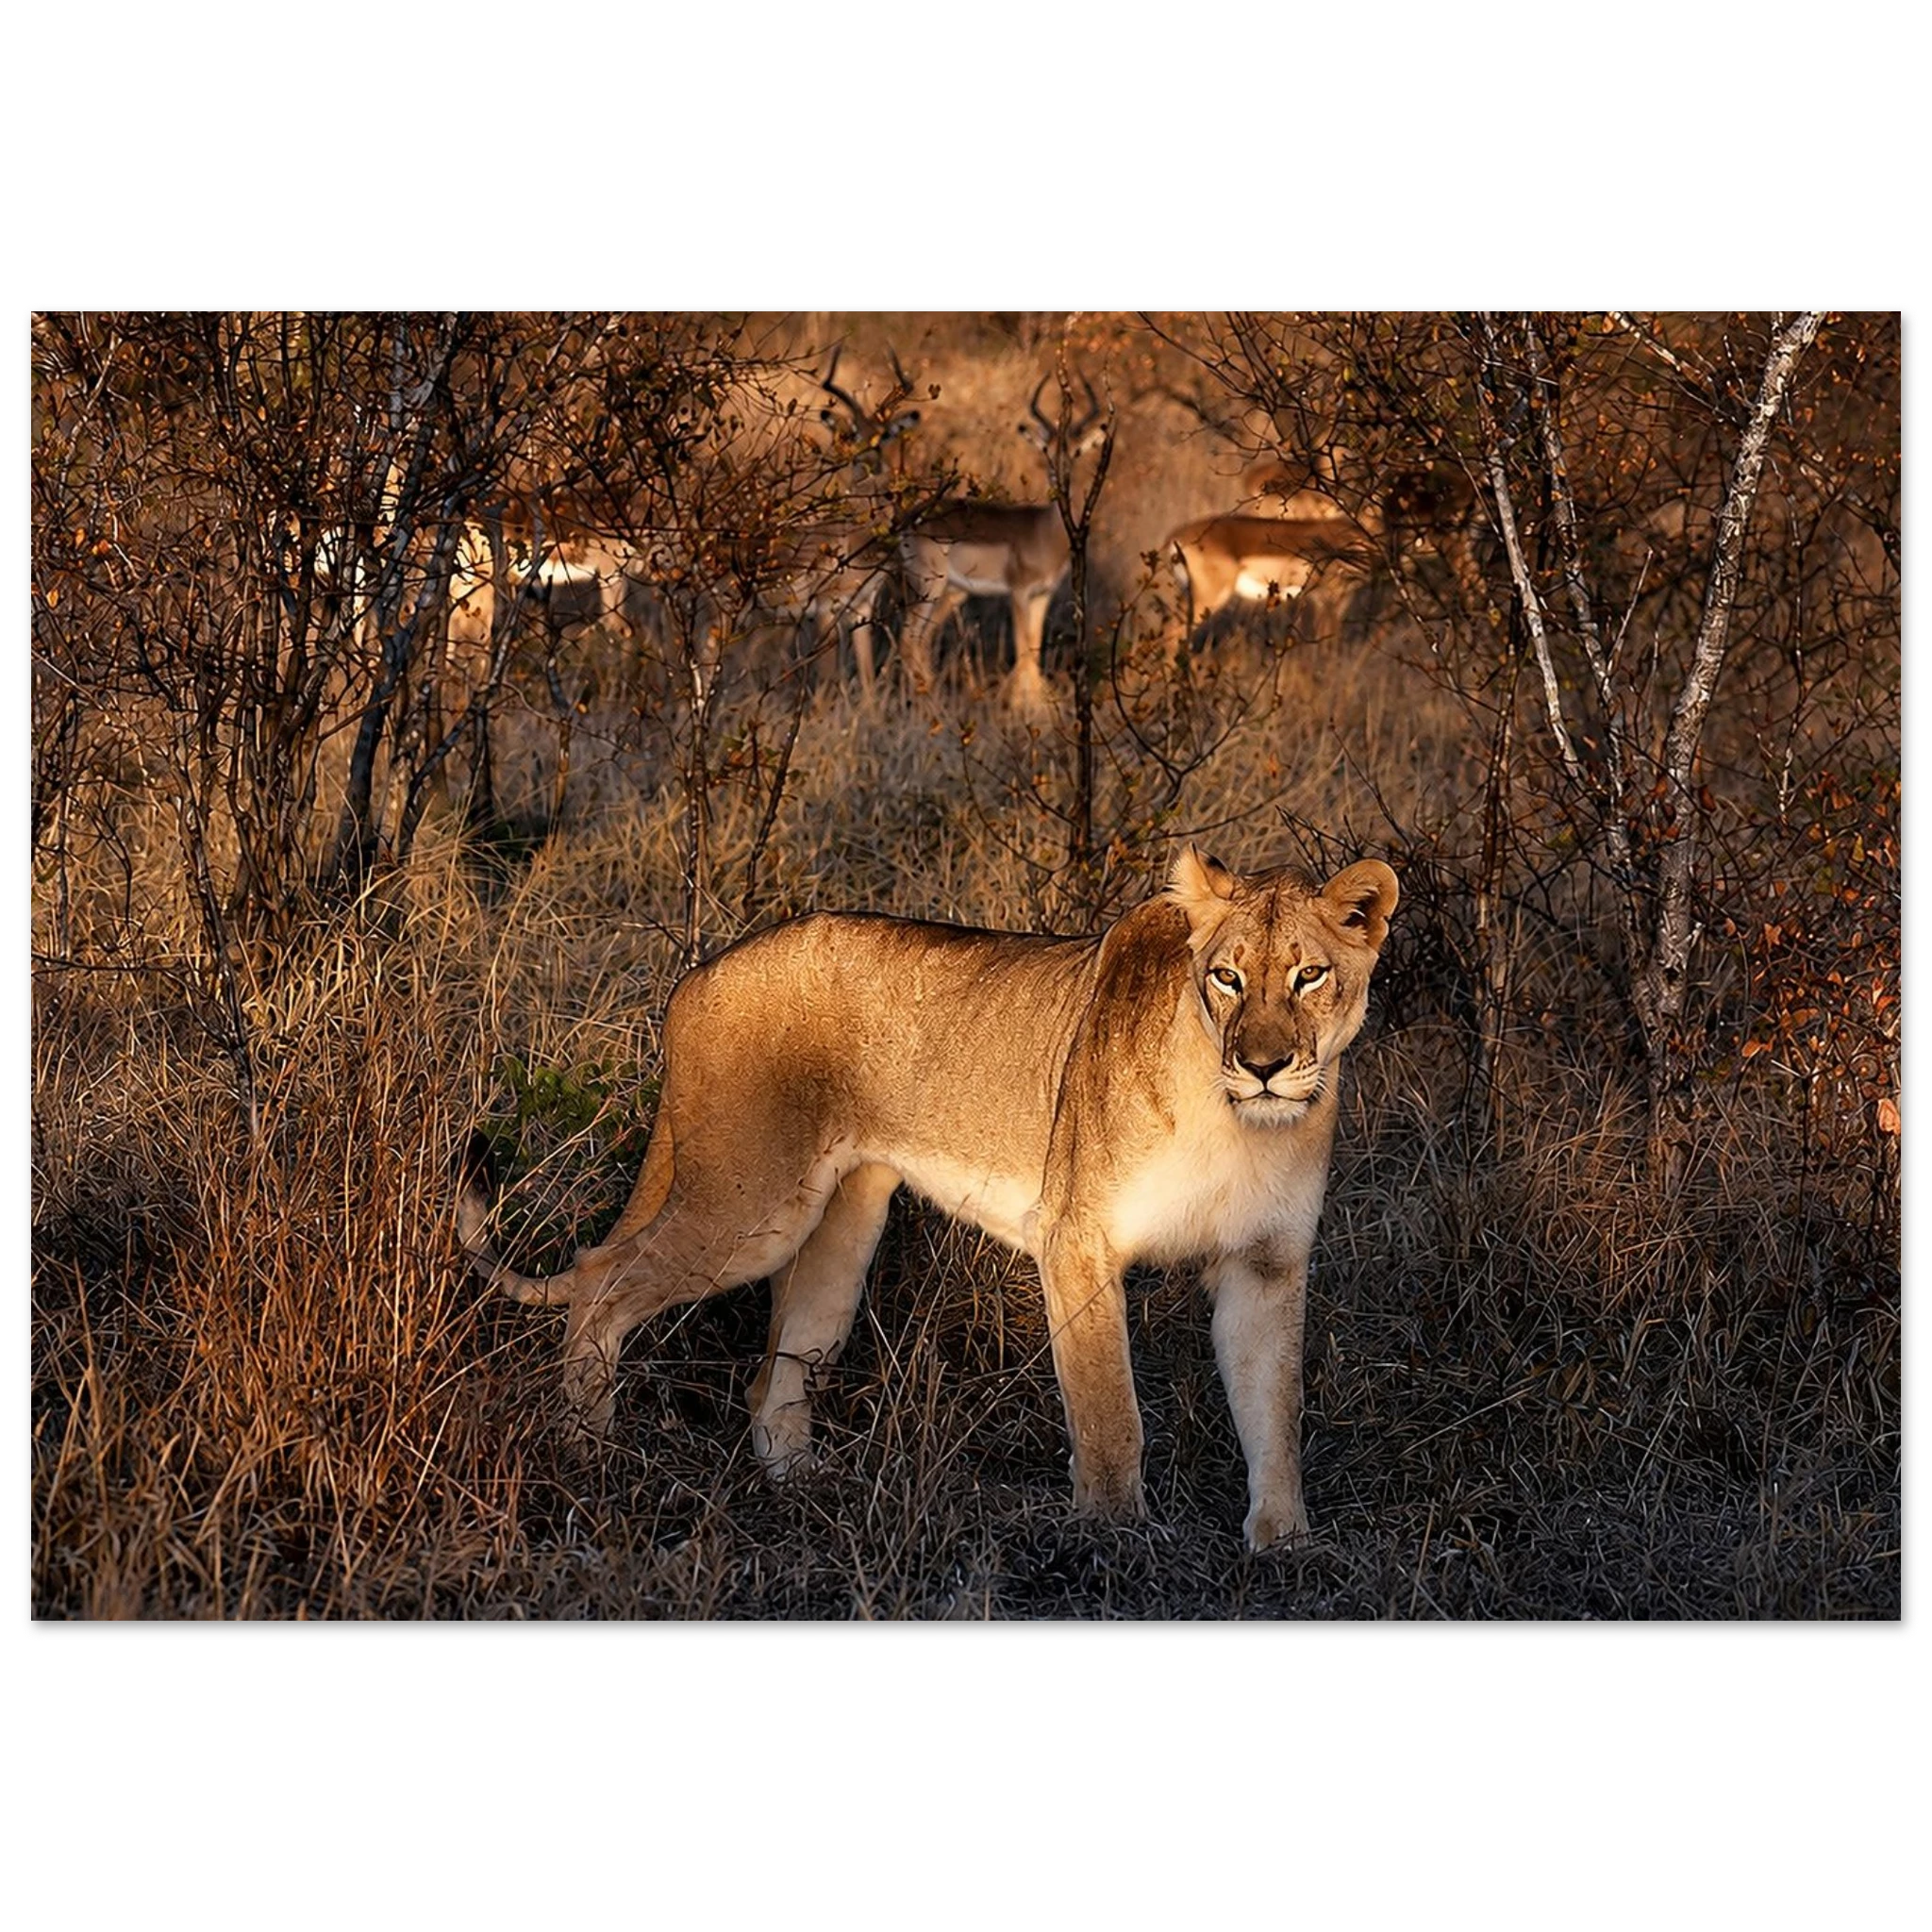
This exclusive portrait, captured in Zimbabwe, brings the raw power of the African savanna into your home. The aluminum medium ensures that the crisp details of the lioness remain sharp under a variety of lighting conditions. Plus, your purchase has a purpose: 10% of the profits support wildlife conservation.
SHOP LIONESS ON THE HUNT ALUMINUM PRINT
Finding the Perfect Angle: The "Museum Angle" Rule
One of the most common mistakes in home art lighting is placing the light source directly in front of or directly above the print. This leads to two problems:
- The Hot Spot: A bright circle of light in the center of the image.
- Shadowing: If the light is too steep, the frame (if you have one) will cast a long, distracting shadow across the top of the artwork.
The professional solution is the 30-degree rule. Position your light source so that the beam hits the center of the artwork at a 30-degree angle from the vertical. This angle is steep enough to prevent the viewer's own shadow from falling on the print as they stand in front of it, but shallow enough to prevent harsh glare from bouncing back into their eyes.
Creating Depth in Marine and Ocean Art
Marine photography often deals with deep blues, teals, and subtle gradients of light filtering through water. To showcase these pieces, you need lighting that doesn't "blow out" the darker regions of the print.
For a piece like the Great Hammerhead Shark Aluminum Print, you want a light that mimics the natural, diffuse light of the ocean. Using a slightly wider beam angle (around 25 to 35 degrees) can help wash the entire surface of the print evenly, ensuring that the hammerhead’s silhouette remains a powerful focal point without losing the details of the surrounding water.
Great Hammerhead Shark Aluminum Print – Modern Marine Life Wall Art
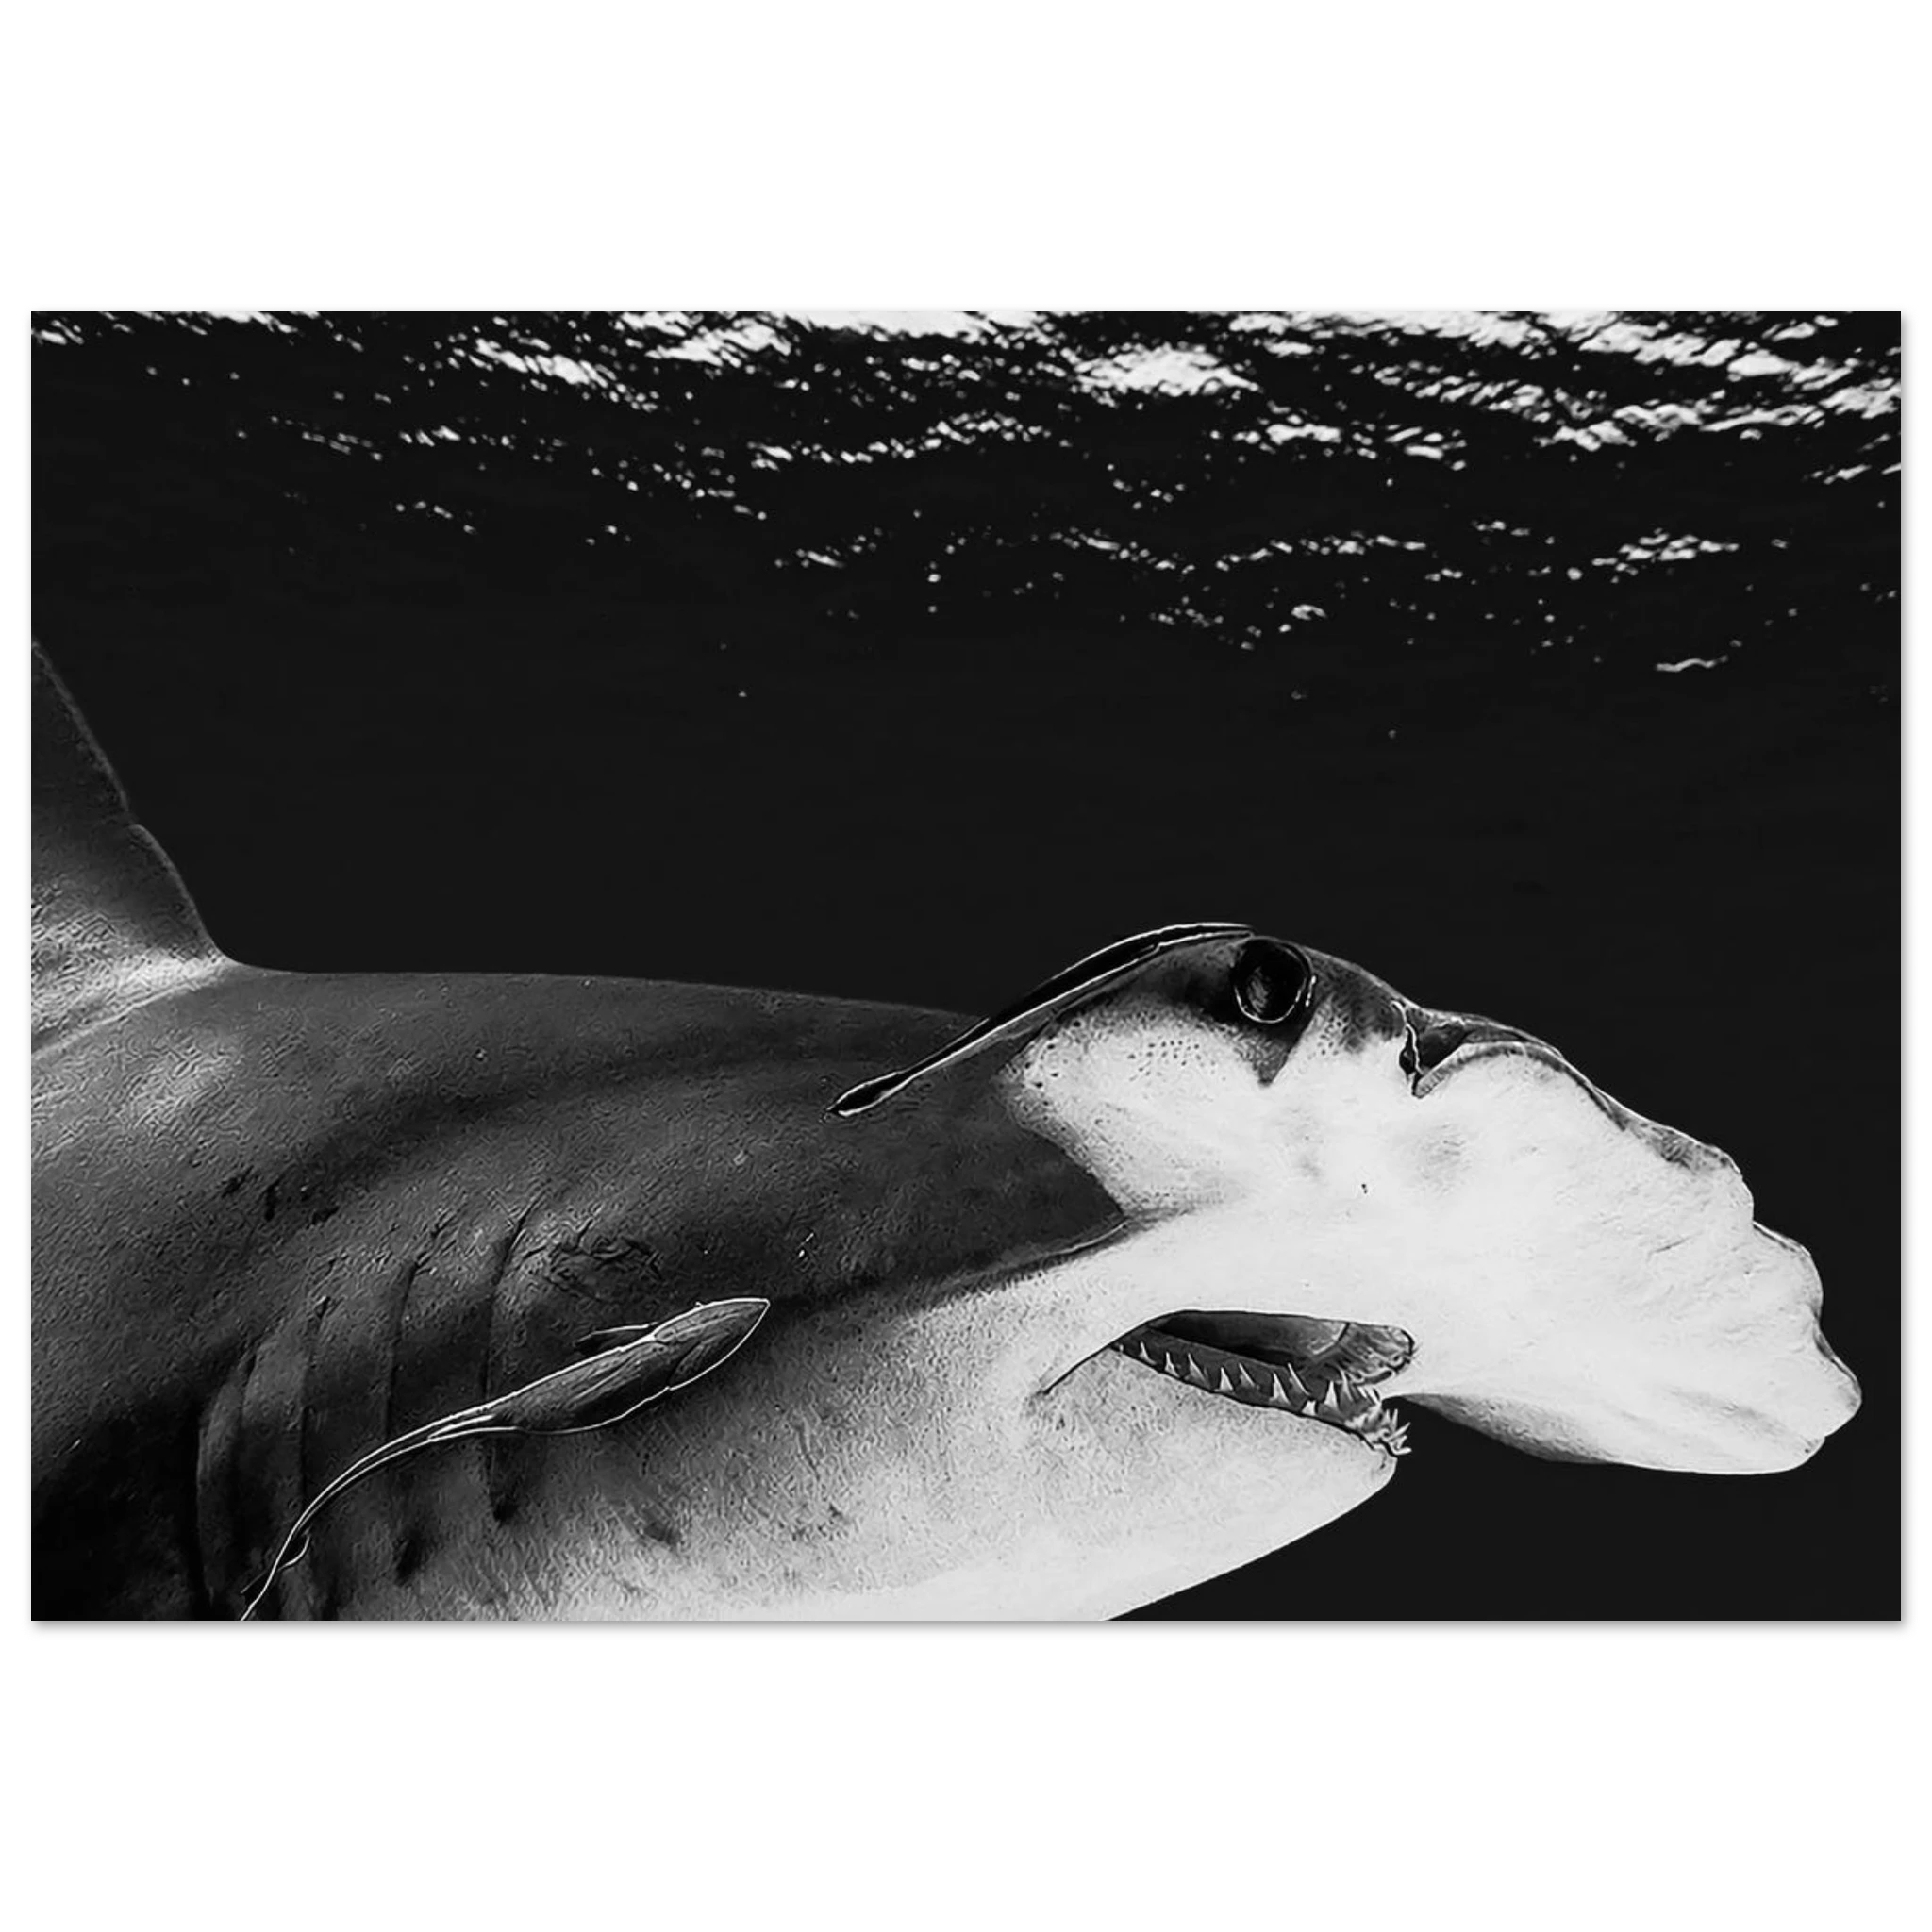
This stunning print serves as a tribute to one of the ocean's most iconic predators. Printed on sleek aluminum, it is both UV-resistant and moisture-resistant, making it a durable addition to any modern interior. Every purchase supports the Bimini Shark Lab’s mission to preserve critical habitats.
SHOP GREAT HAMMERHEAD SHARK ALUMINUM PRINT
Lighting Different Mediums: Aluminum vs. Paper
The medium you choose significantly impacts how you should light your art.
Aluminum Prints (DIBOND®):
Moss Apparel’s aluminum prints use direct UV-print technology on a white-coated surface. This creates a matte, glare-free finish with a subtle silky sheen in brighter areas. Because the surface is naturally non-reflective, you have more flexibility with lighting. You can use stronger spotlights without worrying about the "mirror effect" common with glass-covered prints.
Framed Paper Prints:
Framed posters, like the Gray Wolf Framed Poster, are protected by shatterproof, high-clarity plexiglass. While beautiful and classic, plexiglass can be prone to reflections if the light source is poorly positioned. To light framed paper prints effectively, ensure your light source is not directly opposite a window or a bright lamp on the other side of the room. Using the 30-degree angle is non-negotiable here to "bounce" any remaining reflections toward the floor rather than the viewer’s eyes.
Gray Wolf Framed Poster – Wildlife Photography by Robert Moss
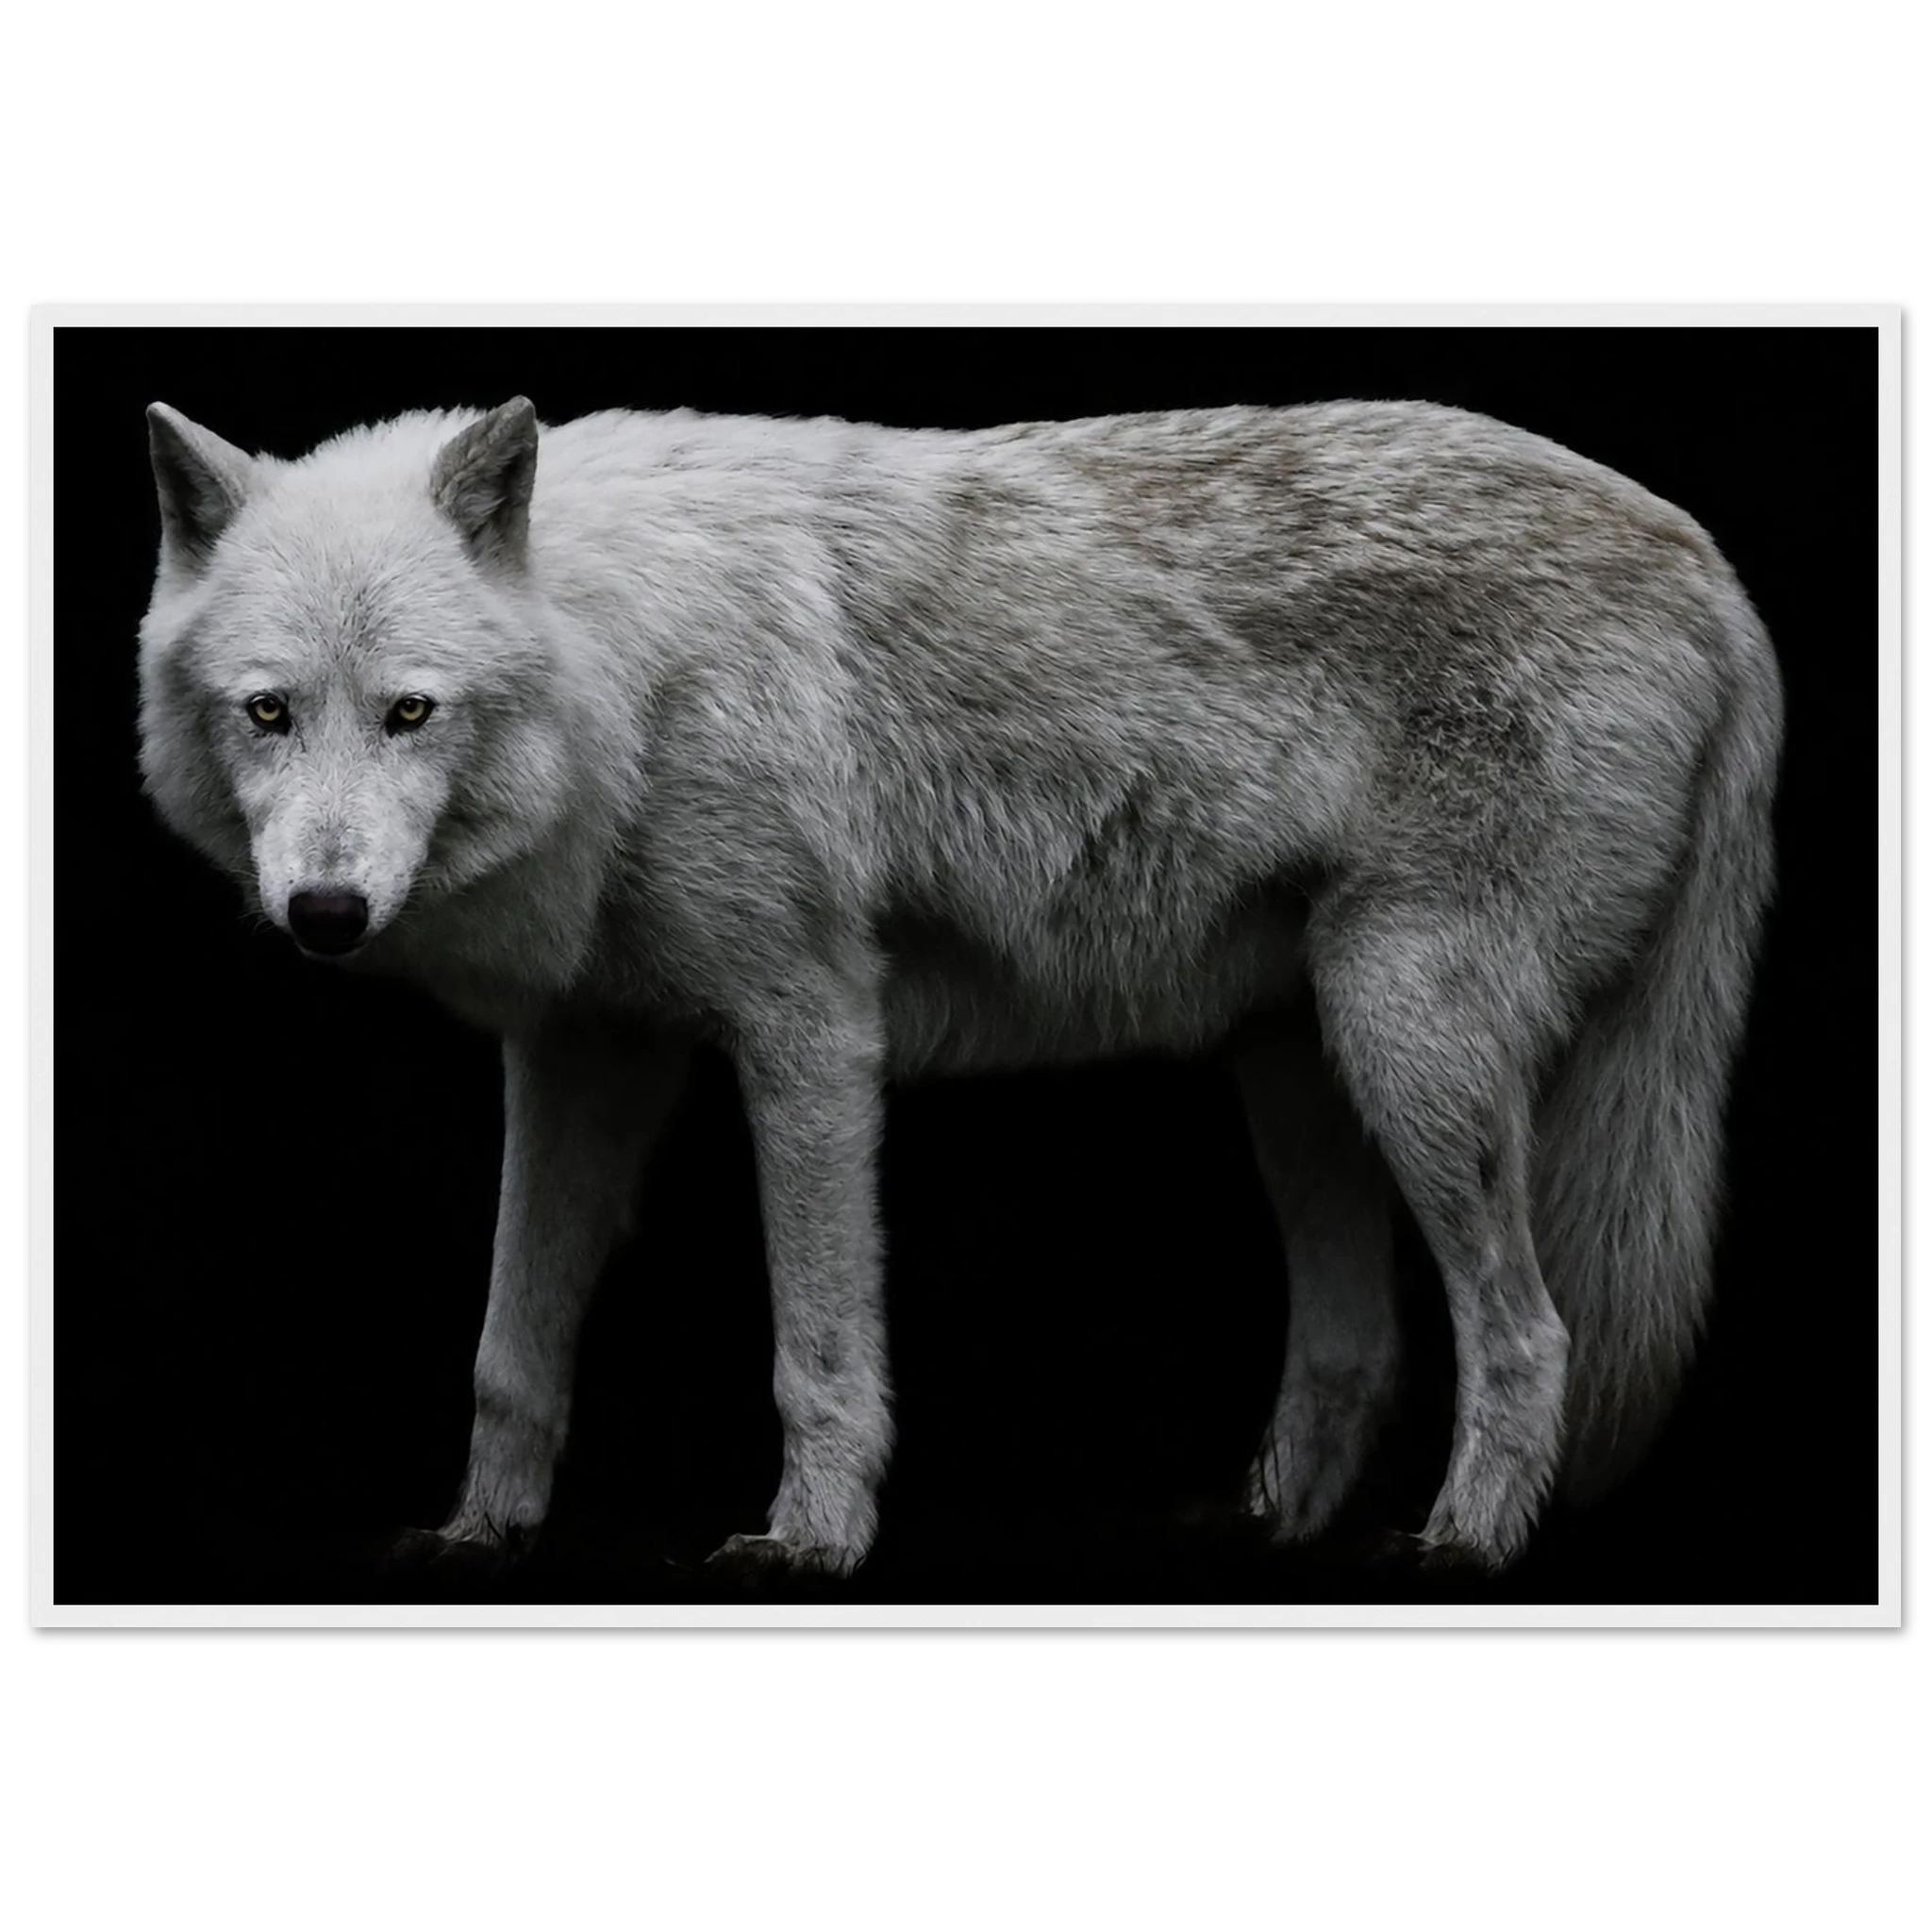
Captured in the rugged landscapes of Wyoming, this Gray Wolf portrait offers a clean, modern aesthetic. Housed in a durable pine wood frame with shatterproof plexiglass, it is a statement piece that gives back: 10% of all profits go directly to the WYldlife Fund.
Abstract Art and the Beauty of Texture
Abstract photography, such as macro shots of nature or textures, relies heavily on shadows to create form. If you light an abstract piece too evenly, it can lose its mystery.
Consider a piece like Water Ripples Aluminum Wall Art. The subject is the movement of water: a fleeting moment frozen in time. To emphasize the ripples, try "grazing" the light. This involves placing the light source slightly further to the side, which creates micro-shadows across the surface, making the texture of the water feel almost tactile.
Water Ripples Aluminum Wall Art - Photography by Robert Moss
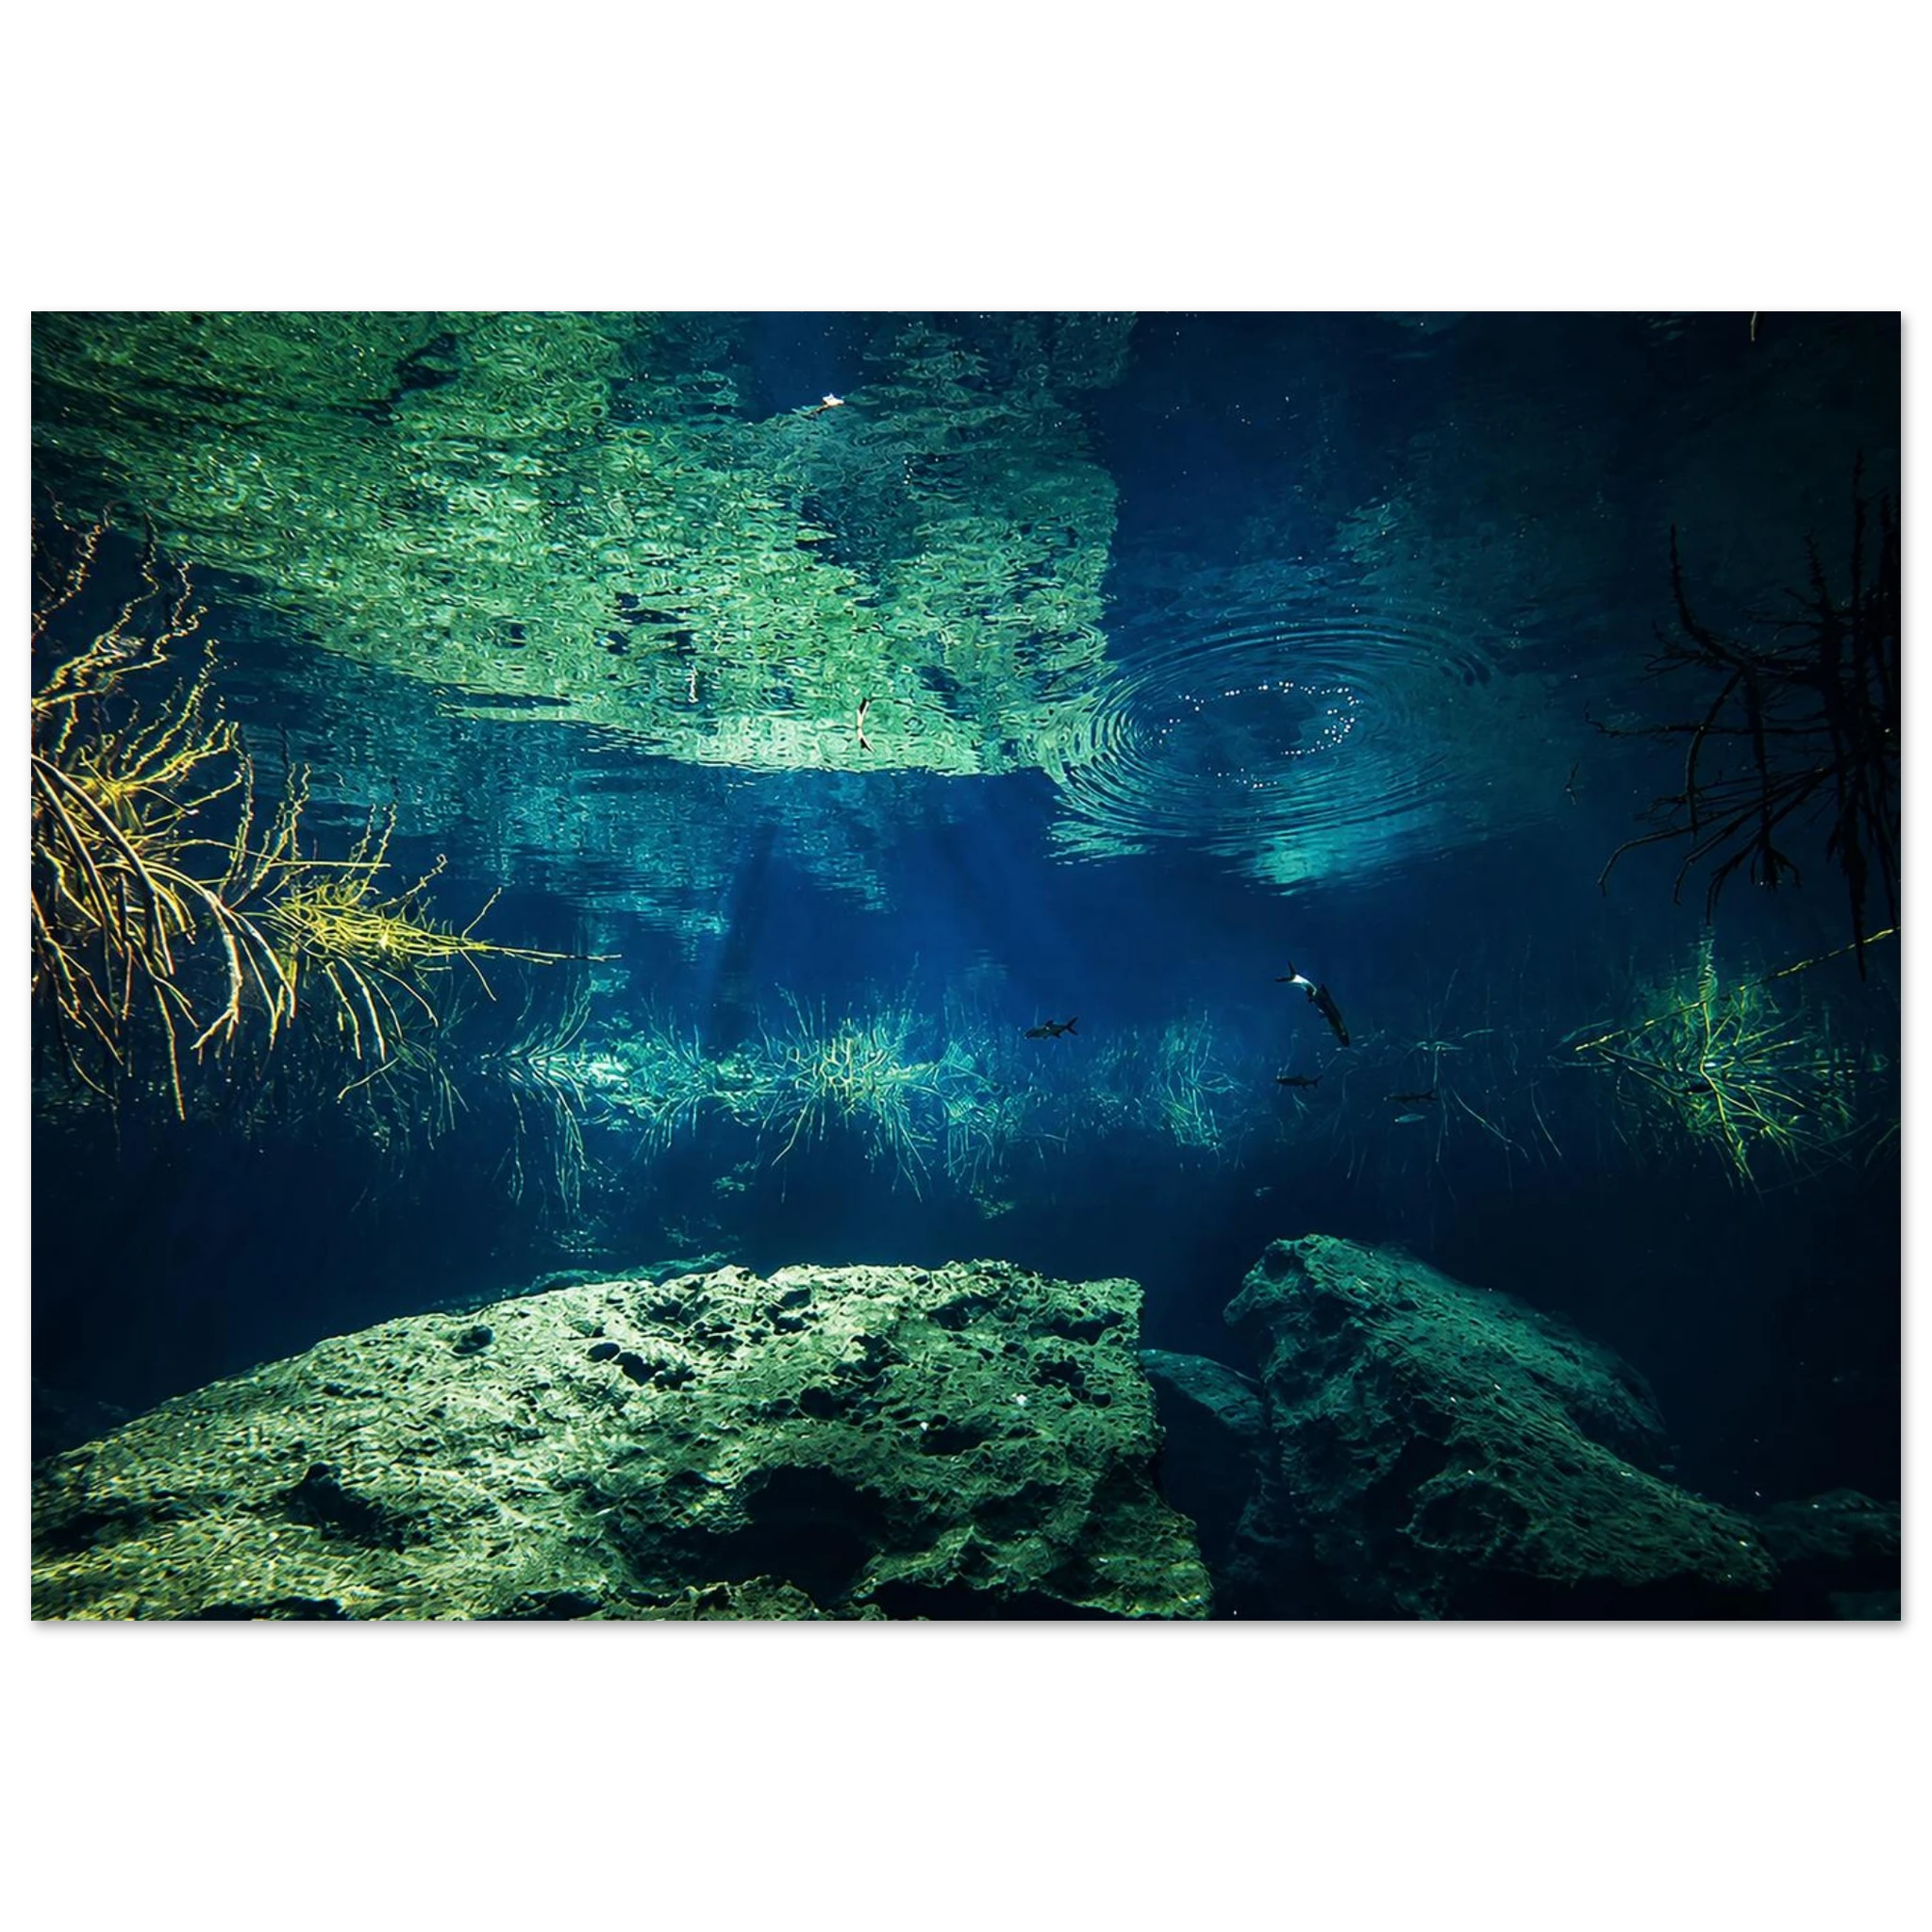
Frozen in a moment in Mexico, this aluminum print captures the tranquil spreading of water ripples. It is a perfect focal point for minimalist or coastal-themed interiors. Your purchase supports global ocean conservation, including mangrove planting and pollution clean-up.
SHOP WATER RIPPLES ALUMINUM WALL ART
Professional Layout Recommendations
- For Large Anchors (Living Rooms): Use a track lighting system with two adjustable LED heads. Aim each head at the outer thirds of the print to ensure an even wash of light without a central hot spot.
- For Hallway Gallery Walls: Use individual "eyeball" recessed lights. These are ceiling lights that can be tilted and rotated, allowing you to hit the 30-degree angle for each piece in your collection.
- For Office Spaces: A dedicated picture light mounted directly to the frame or the wall above the art provides a professional, "executive" look. Ensure the light is roughly 1/2 to 2/3 the width of the artwork for balanced coverage.
Summary: Wear Your Values, Light Your Vision
Showcasing fine art photography is an investment in your home’s atmosphere and the conservation efforts these pieces support. By choosing high-CRI LEDs, respecting the 30-degree museum angle, and selecting the right medium for your space, you ensure that the story behind every Robert Moss photograph is told in its best light.
Explore the full collection of Fine Art Photography Prints at Moss Apparel and find the piece that speaks to your space. Remember, 10% of every purchase goes directly back to protecting the wildlife and landscapes captured in our frames.


